• Interior Design • New Zealand • maxiglobalweb

A calm, structured process
that keeps decisions clear.

Designing a space is rarely one “big choice” — it’s dozens of small decisions that must still feel coherent. Our process is built to reduce uncertainty, protect your budget, and keep the final result comfortable for years.

0 steps
clear checkpoints
0 tracks
residential + commercial
0 pack
handover-ready documentation

Good to know: You can start at any stage. If you already have plans or a builder, we’ll plug into what you’ve got and make the next decisions easier.

Step 01 / 05
The workflow

Five steps. Each produces something you can use.

The goal is not “more meetings”. The goal is fewer wrong purchases, fewer delays, and a space that feels settled. Every step ends with a clear output — so you always know what’s next.

Step 01

Discovery

The shortest step, and the one that prevents most mistakes.

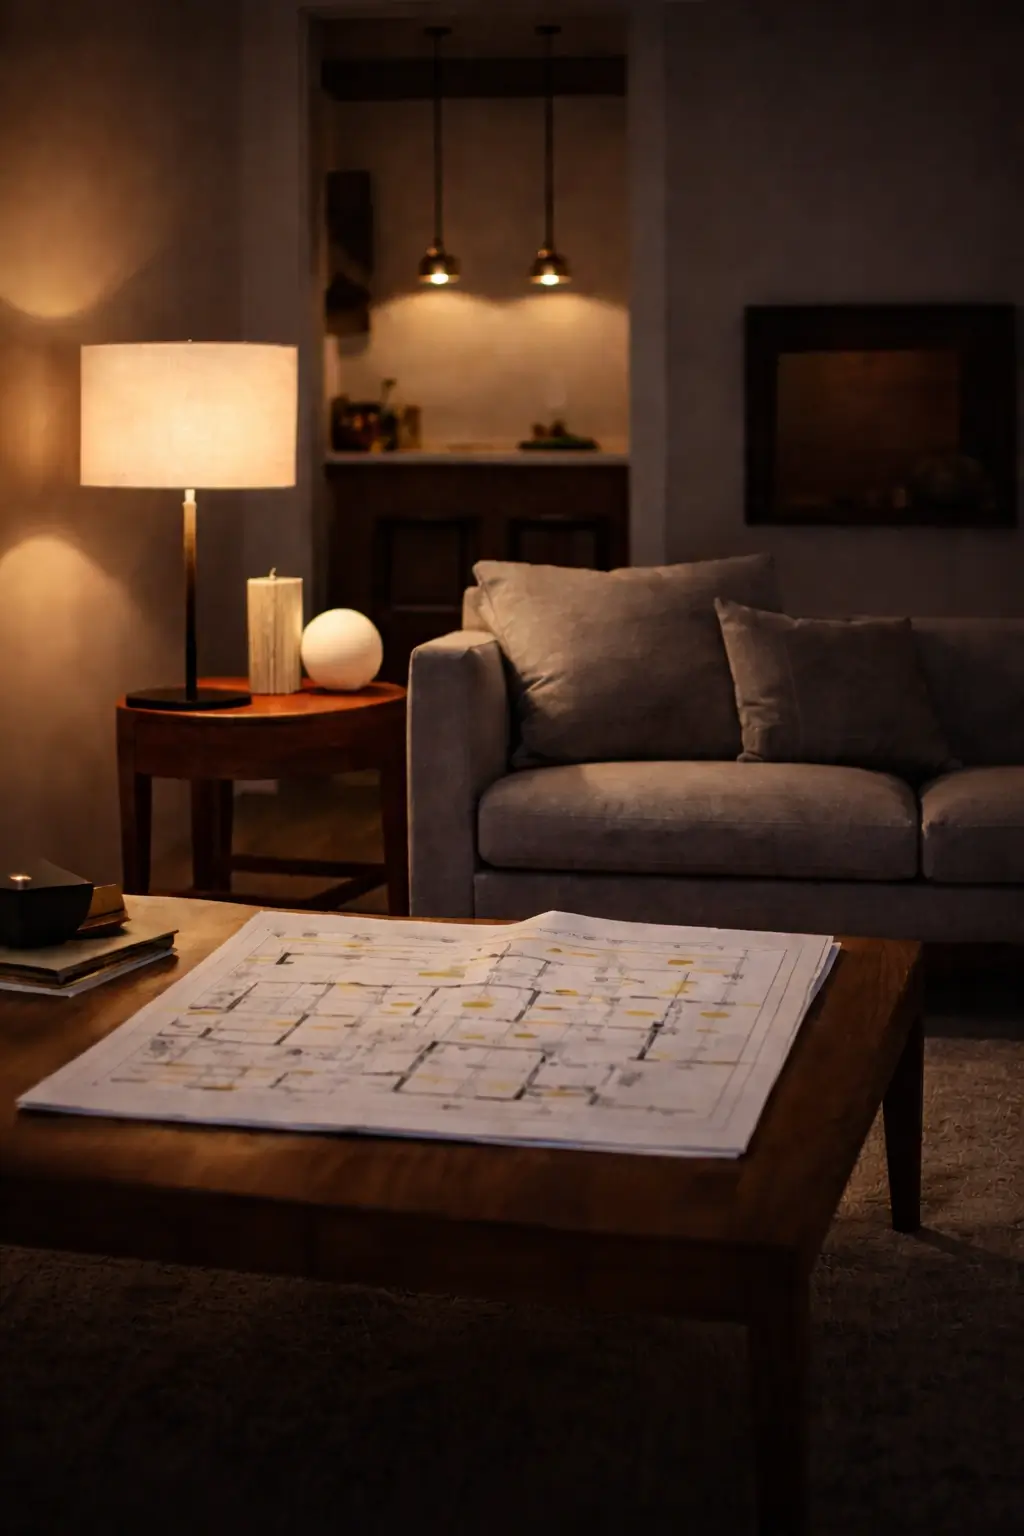
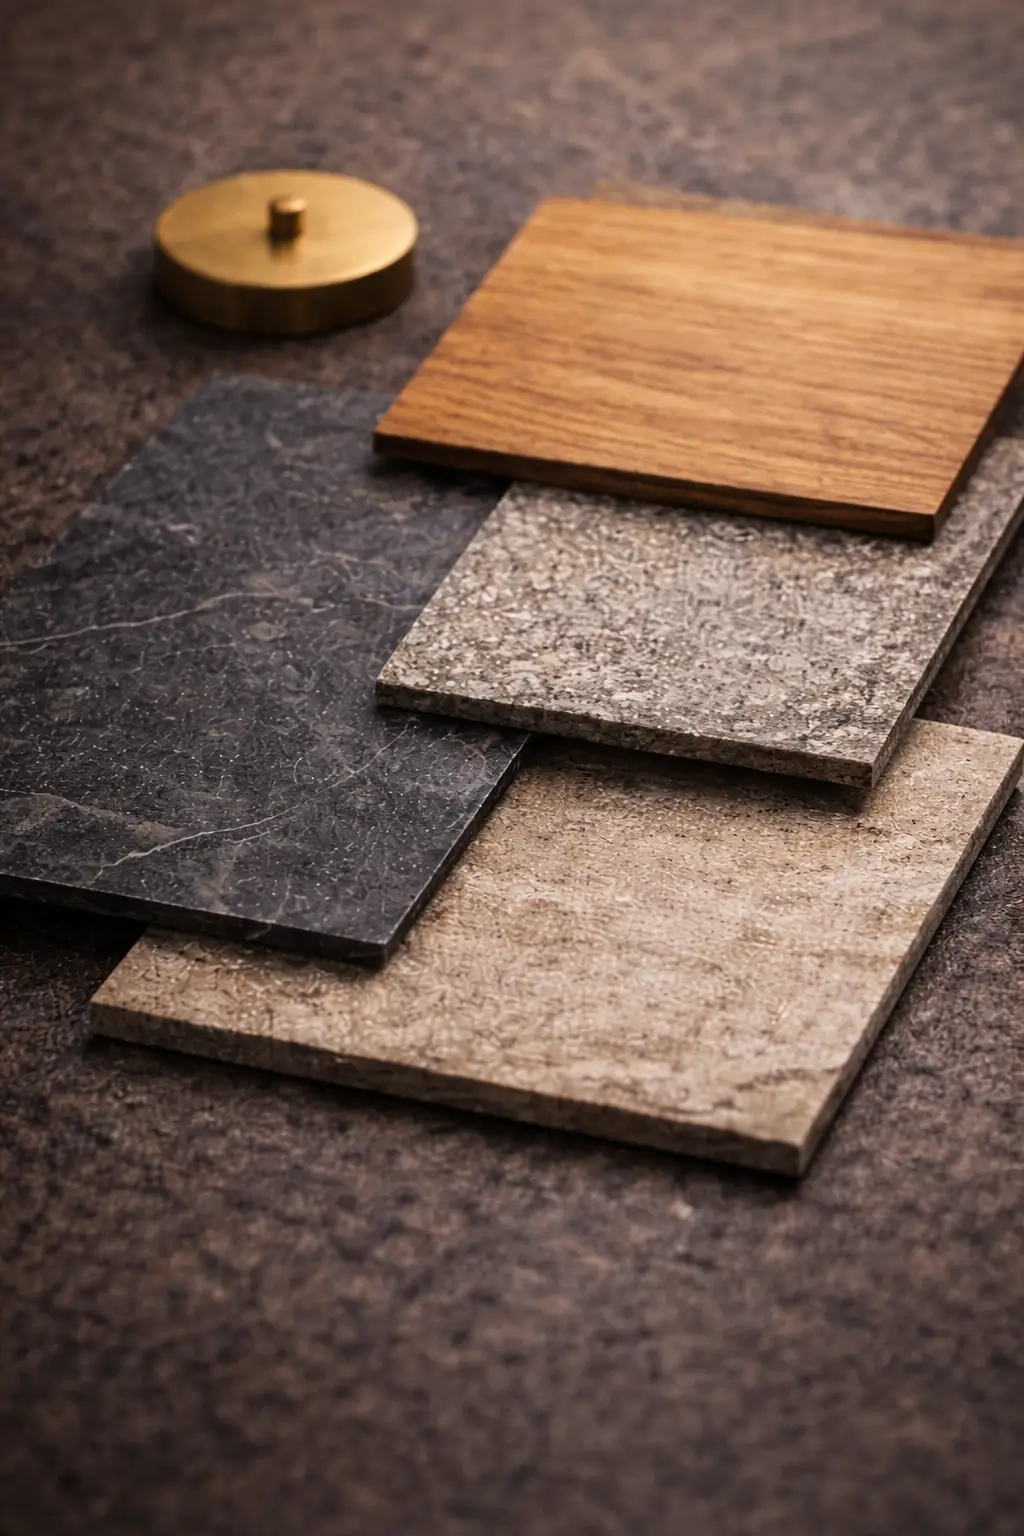
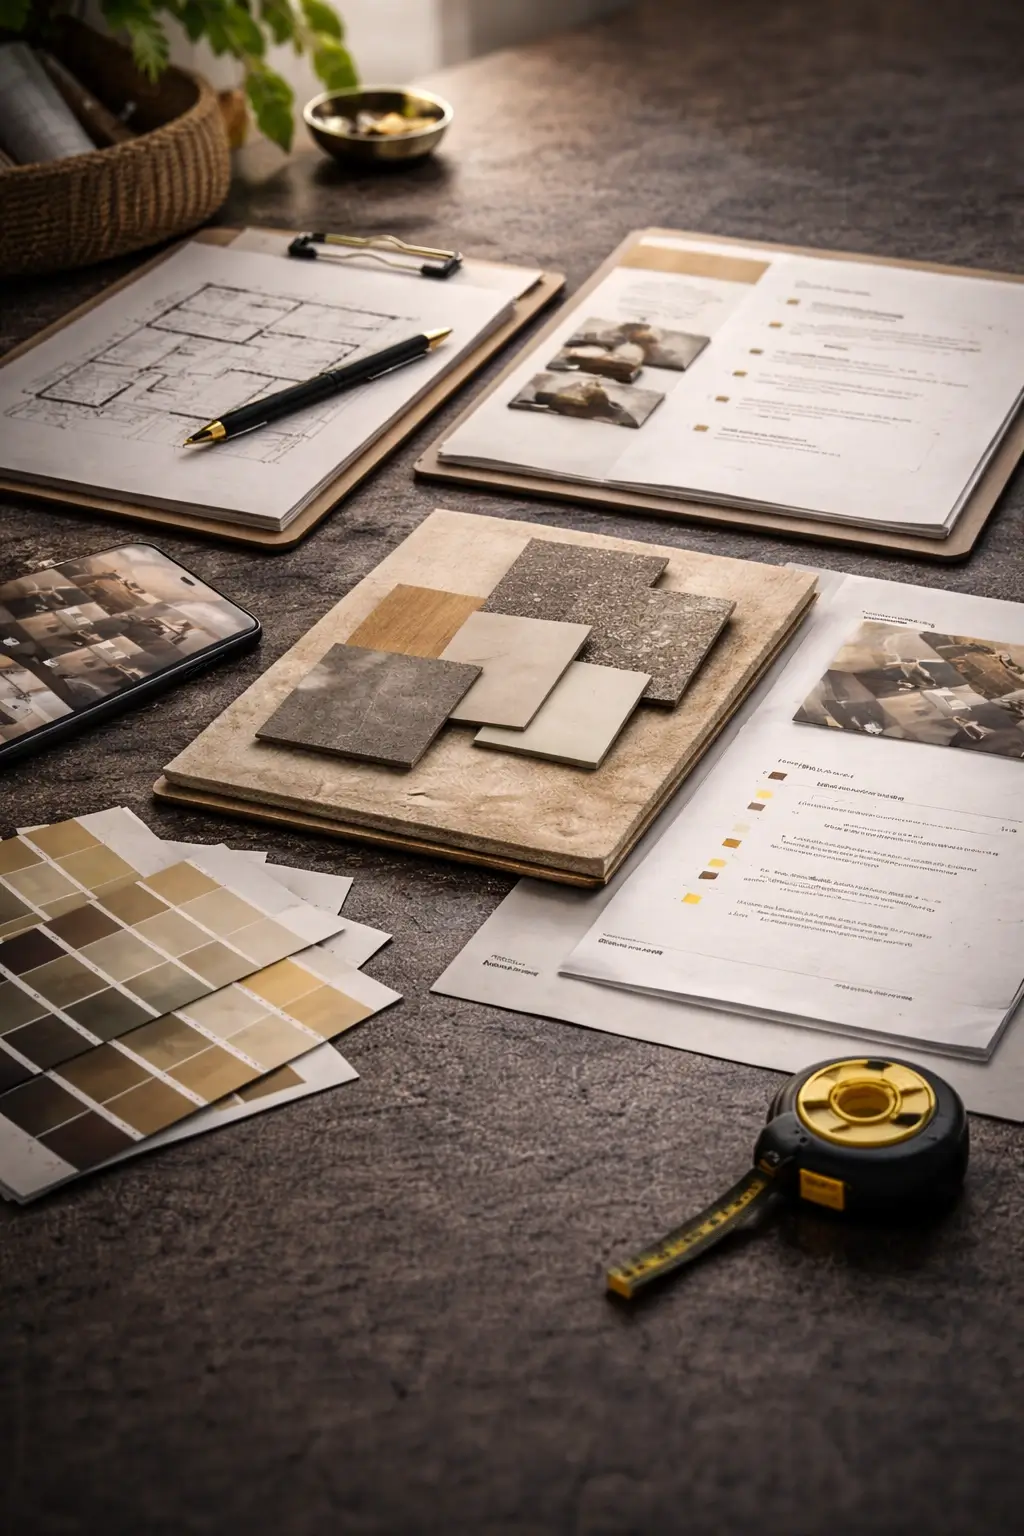
We start with what matters: how you use the space, what you want to improve, and what must stay. If you’re renovating, we’ll also map constraints early (lead times, access, existing services).

We ask for

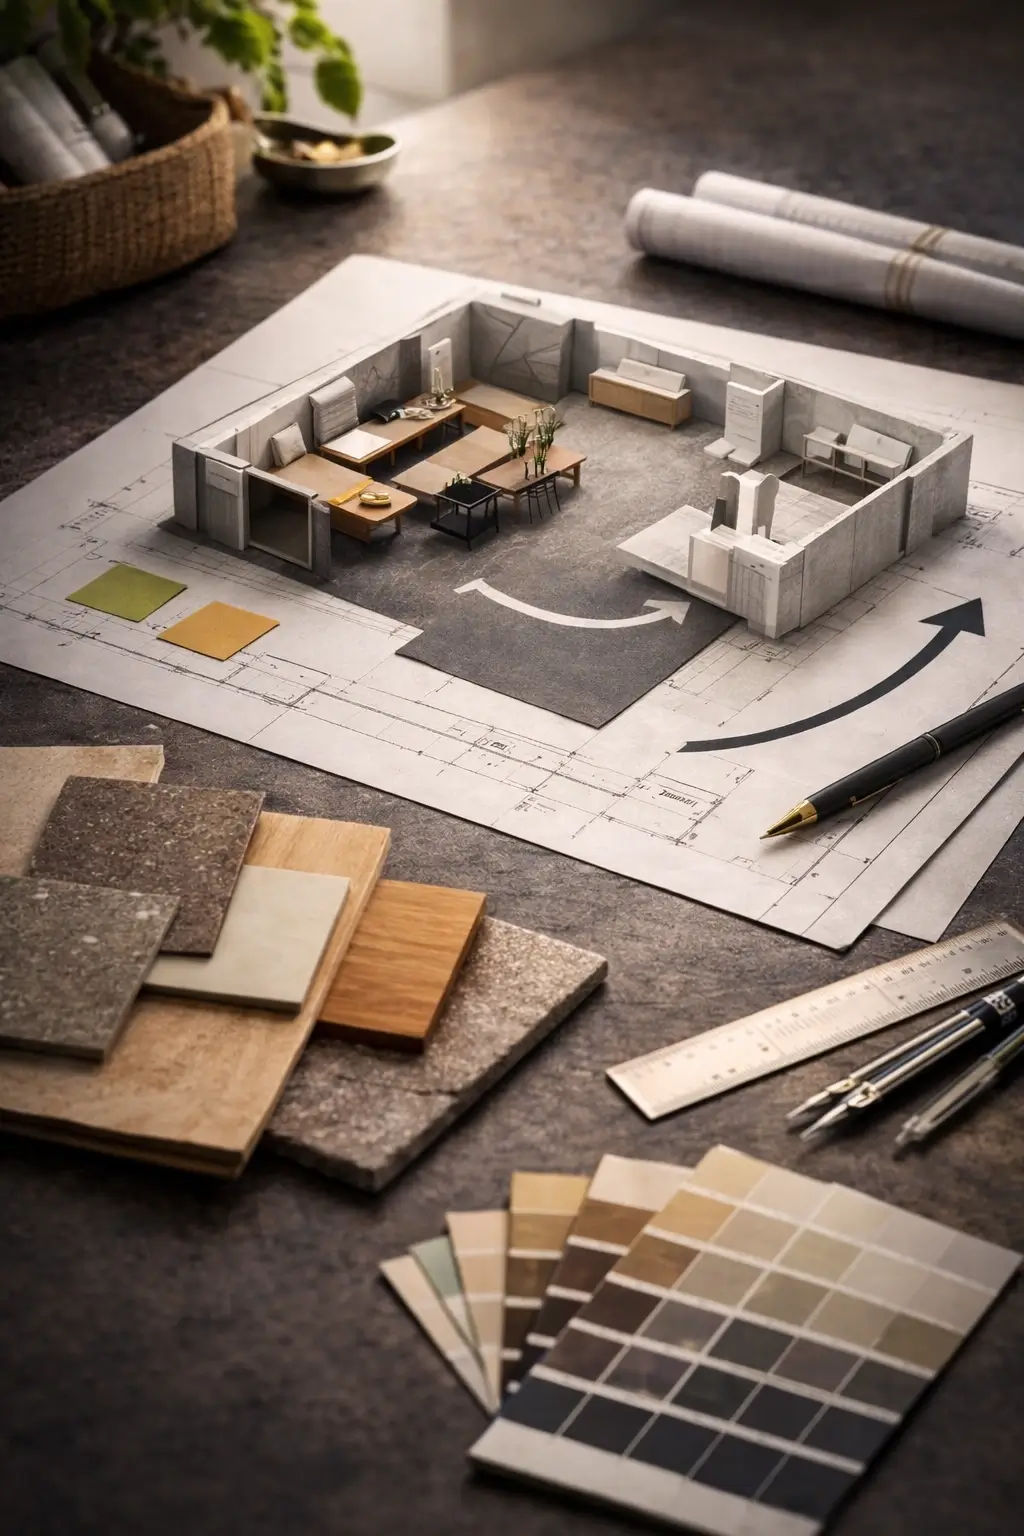
  • Basic measurements / plans (even rough is ok)
  • Site photos or a video walkthrough
  • Budget range + “non-negotiables”
  • Timeline and decision-makers

You receive

  • Written brief (priorities + constraints)
  • Project direction & risk notes
  • Next-step plan (what we do next)
Best for: starting from scratch Also: “we’re stuck” moments

Step 02

Layout & Zoning

Where your space becomes easier to live in.

We test multiple layout options and pick the one that supports real routines: circulation, storage, light, and the “feel” of the room. This is where unnecessary complexity gets removed.

Circulation first

We protect pathways. A calm interior is often just “nothing in the way”.

Storage logic

Hidden, reachable, and sized for what you actually own.

Natural light

We position key zones where daylight is best — and support darker areas well.

Tip: If you’re moving walls, do it only after layout clarity. Otherwise renovations get expensive fast.

Output: layout recommendation Output: zoning + clearances

Step 03

Concept & Style Rules

Not “a vibe” — a system.

We define the design language: palette, textures, key references, and what to avoid. Think of it as rules that keep your interior calm when you add pieces over time.

How we keep it timeless

  • Prioritise natural, honest materials (timber, stone, wool, linen)
  • Use contrast through texture, not loud colour
  • Choose a few “anchor” elements and keep the rest quiet
  • Design for real light (NZ daylight changes fast)

Outcome: you can walk into a store or browse online and know instantly what fits.

Output: moodboard Output: palette + materials logic

Step 04

Selections

Where aesthetics meets durability.

We select finishes and fixtures that look good in real light, wear well, and suit your maintenance comfort. You’ll receive options with clear trade-offs — so decisions feel confident, not stressful.

Materials

Tiles, timber, paint, stone — balanced for cost, ageing, and tactile feel.

Lighting

Ambient + task + accent layers so spaces feel usable at night.

Furniture

Scale-checked list that fits pathways and allows future changes.

Practical detail: we always consider NZ lead times and local availability so your plan stays realistic.

Output: supplier-ready list Output: alternatives & priorities

Step 05

Documentation & Handover

The step that makes the build smoother.

Your project gets packaged into clear documentation: finish schedules, drawings (where needed), product references, and implementation notes. The goal is to help builders work faster with fewer clarifications.

Finishes schedule

Room-by-room finishes, codes, and notes for ordering.

Lighting plan

Layers, positions, and fixture guidance that matches mood + function.

Product list

Supplier-ready links, alternatives, and priority order.

Handover notes

“What to watch” during execution — details that keep quality consistent.

Optional: on-site support in Auckland area, or remote check-ins across New Zealand.

Output: build-ready pack Output: clean handover
Deliverables

What you get, in plain language.

Your deliverables depend on scope, but the intent is always the same: less guesswork, fewer wrong purchases, and clear documentation for whoever builds.

Plans & zoning

Furniture layouts, circulation logic, and key dimensions.

  • Scale checks
  • Clearances
  • Storage logic

Materials & finishes

Paint, timber, tile, stone — chosen for real light and durability.

  • Finish schedules
  • Codes & notes
  • Alternatives

Lighting & atmosphere

Layered lighting that works at night without killing the mood.

  • Ambient / task / accent
  • Placement logic
  • Fixture guidance

Shopping list

Supplier-ready items with priorities and budget-aware substitutes.

  • Lead-time aware
  • Where to buy
  • What to buy first

Want a lighter scope (one room) or a full renovation pack? We’ll propose the cleanest option.

Ask about scope →
Toolkit

Small tools that make decisions faster.

These are the “quiet” parts of the process — the things that stop decision fatigue and keep the design coherent.

The 3-layer lighting rule

Every room gets ambient + task + accent so it works day and night.

Best for: living areas, kitchens, studios, retail.

Material “honesty” check

We avoid finishes that age poorly. Texture and tone do more than gimmicks.

Best for: high-traffic spaces, rentals, commercial fit-outs.

The “future add-ons” rule

We design systems that remain consistent when you add pieces later.

Best for: growing families, evolving workspaces.

FAQ

Questions we get (and answer plainly).

If your situation is unusual — it’s fine. Most interiors are. Send a note and we’ll propose a clean path.

Want a recommended starting point?

Send your room type, city, and timeline — we’ll reply with the cleanest next step.

Contact us →